


A musty, damp smell when you open the closet door, dark spots on the back panel—maybe even on the wall behind it: Mold behind a built-in closet is one of the most common problems we at Cabinetheroes encounter. It usually isn’t noticed until a spot suddenly appears on the back wall while clearing out the closet for the seasonal change—yet in almost all cases, the problem could have been prevented from the start. That’s because behind almost every instance of mold in a built-in closet lies one of three recurring mistakes in closet ventilation.
The good news: If you’re aware of these three mistakes, you can proactively avoid them from the start when planning a custom-built closet —instead of losing furniture, walls, and, in the worst case, even your clothes years later. In this article, we’ll explain why ventilation is so important for built-in closets, which three mistakes occur most frequently in practice, how to spot an emerging moisture problem early on, and how custom planning significantly reduces the risk from the start.
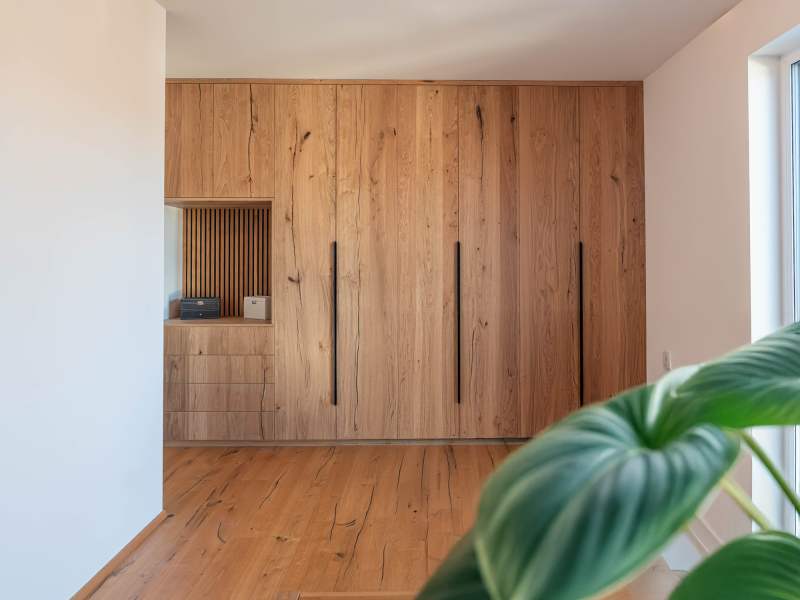
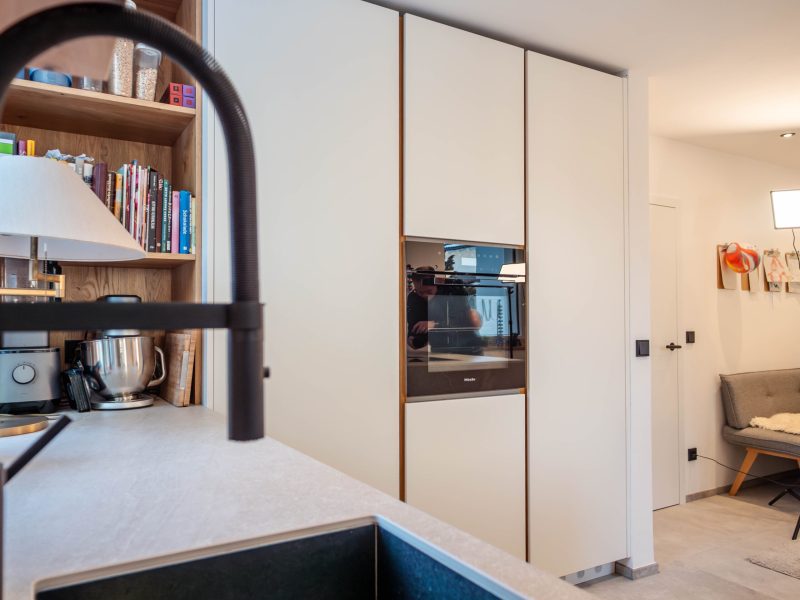
Why Ventilation Is So Important for Built-In Cabinets
Every closet is a largely enclosed space. Clothing, shoes, and textiles constantly release small amounts of moisture, which accumulates inside if there is no air exchange. With a freestanding wardrobe, this problem can often be mitigated simply by moving it a few centimeters away from the wall. A built-in closet, on the other hand, is usually installed directly in or against the wall, often spanning the entire width of the room or fitting into a niche—which is exactly why well-designed ventilation is so much more important here than with a traditional off-the-shelf piece of furniture.
The actual cause of mold is almost always the wall behind the closet, not the closet itself. If a built-in closet is located directly in front of an exterior wall, that surface is significantly colder than the rest of the room in the winter. When warm, humid indoor air comes into contact with this cold surface, it can no longer hold the moisture—condensation occurs. In physics, this is known as the dew point: the temperature at which the air can no longer hold its moisture as water vapor and releases it as droplets. This is precisely why mold behind built-in closets almost always appears along exterior walls and practically never on interior walls—and this is exactly why it’s not enough to focus solely on the closet itself; you must always consider the wall behind it as well.
The 3 Most Common Mistakes in Cabinet Ventilation
In a nutshell, these are the three classic scenarios we see time and time again in practice:
- Problem 1: The cabinet is placed directly against an uninsulated exterior wall, with no space between them.
- Error 2: There are no ventilation openings in the base and top sections of the cabinet.
- Mistake 3: The cabinet is installed too early in a new building or is used and ventilated incorrectly in everyday life.
It is worth taking a closer look at each of these points in detail.
Mistake 1: No clearance from the exterior wall
If a built-in closet is placed flush against a cold exterior wall, it essentially creates a small, unventilated cavity with ideal conditions for condensation. Even a minimal air gap of two to three centimeters is often enough to counteract this, because it prevents moist air from accumulating undisturbed at the coldest spot in the room. If a flush installation is desired, the problem can also be solved by adding wall insulation beforehand or by using a specially designed back panel that does not rest flush against the wall but allows air to circulate in specific areas.
This problem is particularly insidious because it isn’t immediately noticeable from the outside: The cabinet looks neatly installed and appears to be high-quality—the problem develops unseen behind the back panel, often over the course of several heating seasons, before it eventually manifests as a stain or odor. With a custom design, this issue is taken into account from the very beginning, including the specific wall conditions on site—an advantage that an off-the-shelf cabinet rarely offers in this way.
Error 2: Missing ventilation openings in the base and crown areas
The second classic: a closed cabinet system with no ventilation grilles at all. Strategically placed openings in the base allow cooler, often more humid air to flow downward, while openings in the top panel ensure that warm, humid air can escape upward. This creates a gentle, continuous exchange of air without requiring any active effort on your part.
The back panel itself also plays a role: A fully glued, airtight back panel made of coated particleboard tends to trap moisture rather than allow it to escape. In the case of freshly installed wood-based materials, varnishes, adhesives, and edge banding continue to off-gas in the first few weeks after installation—which is another reason why a minimum level of air circulation is helpful before the cabinet is fully stocked. Base and crown ventilation is particularly important for custom designs such as a built-in cabinet, where the cabinet is already enclosed by walls on several sides and the air has correspondingly fewer paths to escape. Instead of large, visible ventilation slots, we at Cabinetheroes usually opt for discreet, round ventilation grilles for this rear ventilation—we explain exactly how we plan these in detail below.
Mistake 3: Incorrect timing or improper ventilation practices
If a built-in closet is installed in a new construction before the walls and subfloor have completely dried out, the remaining construction moisture can no longer escape through the wall surface and accumulates behind the closet—in the trades, a waiting period of several months is considered a general guideline, depending on the construction method and season. Anyone who is impatient and has the new closet installed immediately after moving in risks exactly the problem they are actually trying to avoid.
But usage habits also play a role in everyday life: People who rarely open windows for a quick ventilating burst, pack their closets very tightly, or store fabrics in sealed plastic bags all the time are creating exactly the kind of environment that mold thrives in. Brief, vigorous bursts of ventilation several times a day reduce humidity in the room much more effectively than keeping windows tilted open all the time. A general guideline for indoor humidity is 40 to 60 percent—consistently higher levels, regardless of the closet, are a warning sign that can be quickly checked with a simple hygrometer.
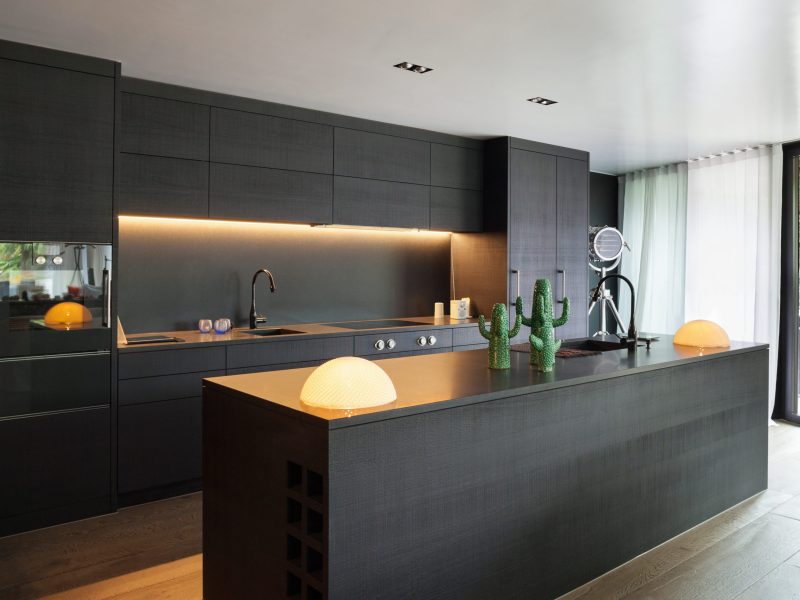
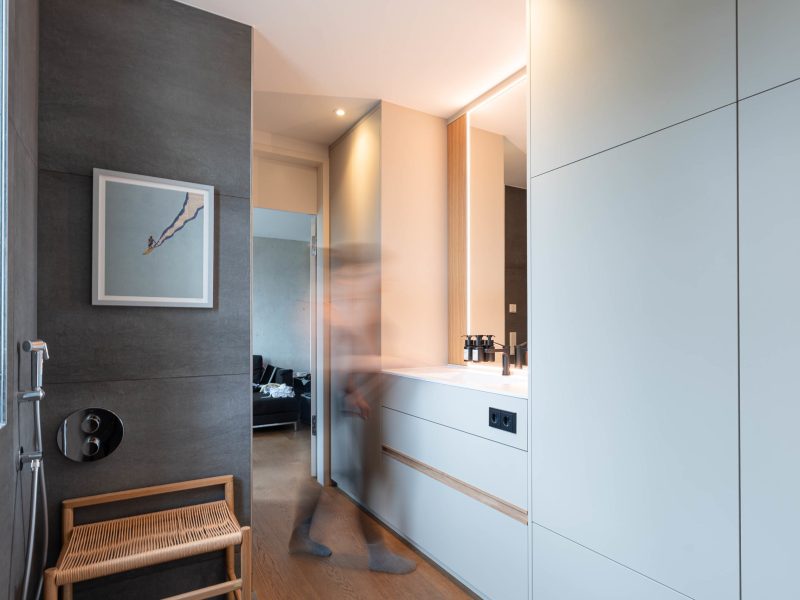
How to Spot an Emerging Moisture Problem Early On
The sooner a ventilation problem is noticed, the easier it is to fix before visible mold forms. Typical early warning signs include a slightly musty or damp odor when opening the cabinet door, tiny droplets of condensation on the inside of the back wall on cold mornings, a noticeably cool, damp sensation when touching the back wall compared to the side walls, and clothing that feels slightly damp or cool after being stored for an extended period. Whitish, chalky efflorescence on the wall directly next to the closet can also be a sign of moisture seeping through the masonry. If you notice any of these signs, it’s worth checking the situation promptly and, if necessary, reviewing ventilation practices or the closet’s placement—rather than waiting until a stain appears.
Additional Tools: Fans, Dehumidifiers, and Hygrometers
In particularly vulnerable situations, passive ventilation through air gaps and ventilation grilles is sometimes insufficient—for example, with a north-facing exterior wall in an older building, in basement rooms, or in very tightly packed cabinets. Additional technical measures can help here: small, continuously running cabinet fans for active air exchange; electric or desiccant-based dehumidifiers inside the cabinet; and a simple hygrometer, which allows you to directly monitor the humidity inside the cabinet rather than relying solely on how the room feels. Basements also deserve special mention here: The baseline humidity here is often higher than one might notice in everyday life, which is why a built-in closet in the basement should never be planned without additional ventilation measures.
Special Cases: Sloped Ceilings, Niches, and Walk-in Closets
Some room layouts require special attention when it comes to cabinet ventilation. Under the roof, temperatures fluctuate more significantly between the insulation and the roof sheathing than in a normal room, and air often circulates less effectively in sloped areas. For a closet installed in a sloped ceiling, well-designed base and top ventilation is therefore particularly important, as moisture can otherwise quickly accumulate in hard-to-reach corners that are easily overlooked during daily use of the closet.
Even a generously sized walk-in closet benefits from a well-thought-out ventilation plan: In a large space with many open and closed elements, air should be able to circulate throughout the entire room, not just within individual cabinet modules. Precisely because a walk-in closet often utilizes multiple wall surfaces at the same time, it’s worth developing an overall concept that takes all elements into account from the very beginning, rather than considering each module individually.
How We at Die Cabinetheroes Custom-Design Rear Ventilation
With off-the-shelf closet solutions, ventilation is often an afterthought—standard dimensions, standard back panels, and no consideration for the specific wall configuration. With a custom-built built-in cabinet, it’s different: At Cabinetheroes, we typically use round ventilation grilles for rear ventilation. Depending on the layout, we mill these into either the back panel or the side of the cabinet. This allows air to circulate more effectively behind or inside the cabinet without compromising the cabinet’s appearance—a marked difference from the large, visible ventilation slots commonly found in systems from home improvement stores.
We always decide on a case-by-case basis, right on site, which solution makes the most sense. In doing so, we take a close look at the room’s layout, which wall is behind the cabinet, and whether special factors—such as exterior walls, sloped ceilings, nearby radiators, cooler areas, or already elevated humidity levels—play a role. After all, not every room is the same—and that’s exactly why rear ventilation is designed to fit the specific situation, rather than following a one-size-fits-all approach.
We include rear ventilation as standard, especially for cabinets installed against exterior walls. The reason is simple: exterior walls are more prone to temperature fluctuations and stagnant air with poor circulation. By incorporating ventilation grilles into our designs, we promote better air exchange and help prevent moisture and trapped air behind the cabinet from the very beginning.
For us, this is an integral part of quality assurance. A custom-made cabinet should not only look perfect and make optimal use of the available space, but also remain stable, functional, and reliable over the long term. With a well-designed ventilation system, we actively help ensure the quality of our work and significantly extend the lifespan of the cabinet—and the wall behind it.
Especially in challenging situations such as exterior walls, sloped ceilings, or niches, this customized planning makes the crucial difference between a closet that stays dry for years and one that shows the first signs of moisture after just two winters. As a result, a custom-built closet is a solution that fits your home—not only aesthetically but also in terms of building physics.

Frequently Asked Questions About Cabinet Ventilation
Not necessarily, but the risk of condensation is significantly higher on exterior walls that are uninsulated or poorly insulated. In these cases, it is generally advisable to create an air gap or implement a targeted ventilation solution, whereas interior walls usually require less intervention.
As a rough guide, even two to three centimeters is considered helpful. In particularly challenging wall situations—such as north-facing exterior walls in older buildings—a slightly greater distance or additional insulation may be advisable.
This depends heavily on wall temperature, indoor climate, and ventilation habits. In unfavorable cases, even one or two heating seasons with consistently damp air that doesn’t circulate well can be enough for the first signs to become visible.
In many cases, yes: Round ventilation grilles milled into the back panel or side panel after the fact, a small cabinet fan or a strategically placed dehumidifier can often significantly improve the situation, even though planning this in from the start—as we do with every custom-made cabinet—remains the cleaner solution.
Checklist: Cabinet Ventilation at a Glance
- Is the cabinet located against an exterior wall? If so, make sure to allow for an air gap, add extra insulation, or provide targeted ventilation.
- Incorporate ventilation openings in the base and top sections—not just on one side—; discreet, round ventilation grilles in the back panel or side panels are often the most unobtrusive solution here.
- Do not make the back panel completely airtight in locations prone to moisture.
- In new construction: Allow the walls to dry completely before installing the cabinet.
- For sloped ceilings, alcoves, or basements: Plan for additional mechanical ventilation (fans, dehumidifiers, hygrometers).
- Ventilate the room thoroughly on a regular basis and keep an eye on the humidity level (40–60%).
- Take early warning signs—such as odors or slight dampness on the back wall—seriously, rather than waiting to see what happens.
Are you planning a new built-in closet and want to make sure that ventilation and moisture protection are taken into account from the very beginning? Request a no-obligation quote —we’ll advise you on a solution that’s tailored exactly to your walls, your space, and your needs.